
Step-by-Step: Changing a Flat Tire Safely


Experiencing a flat tire can be a daunting situation, especially if you're in an unfamiliar location. However, with the right knowledge and tools, you can safely change a flat tire and get back on the road without stress. This step-by-step guide will walk you through the process of changing a flat tire, ensuring you stay safe and efficient.
Preparation: What You Need
Before you face a flat tire situation, it's crucial to be prepared. Ensure your car has the following essential items:
- Spare tire
- Car jack
- Lug wrench
- Wheel wedges
- Reflective triangles or flares
- Flashlight with extra batteries
Having these items in your vehicle at all times can make the process much smoother and safer.

Step 1: Find a Safe Location
If you realize you have a flat tire while driving, the first thing you should do is find a safe location to pull over. Look for a flat, straight stretch of road with ample space on the side. Avoid stopping on curves or near hills as these can be dangerous areas. Once you're in a safe spot, turn on your hazard lights to alert other drivers.
Step 2: Secure the Vehicle
Once parked, apply the parking brake to ensure your car doesn't move while you're working. Place wheel wedges behind the tires opposite to the flat tire. For example, if the flat tire is at the rear, place wedges in front of the front tires.

Step 3: Remove the Hubcap or Wheel Cover
If your vehicle has a hubcap covering the lug nuts, use the flat end of your lug wrench to pry it off. This step isn't necessary if your lug nuts are exposed.
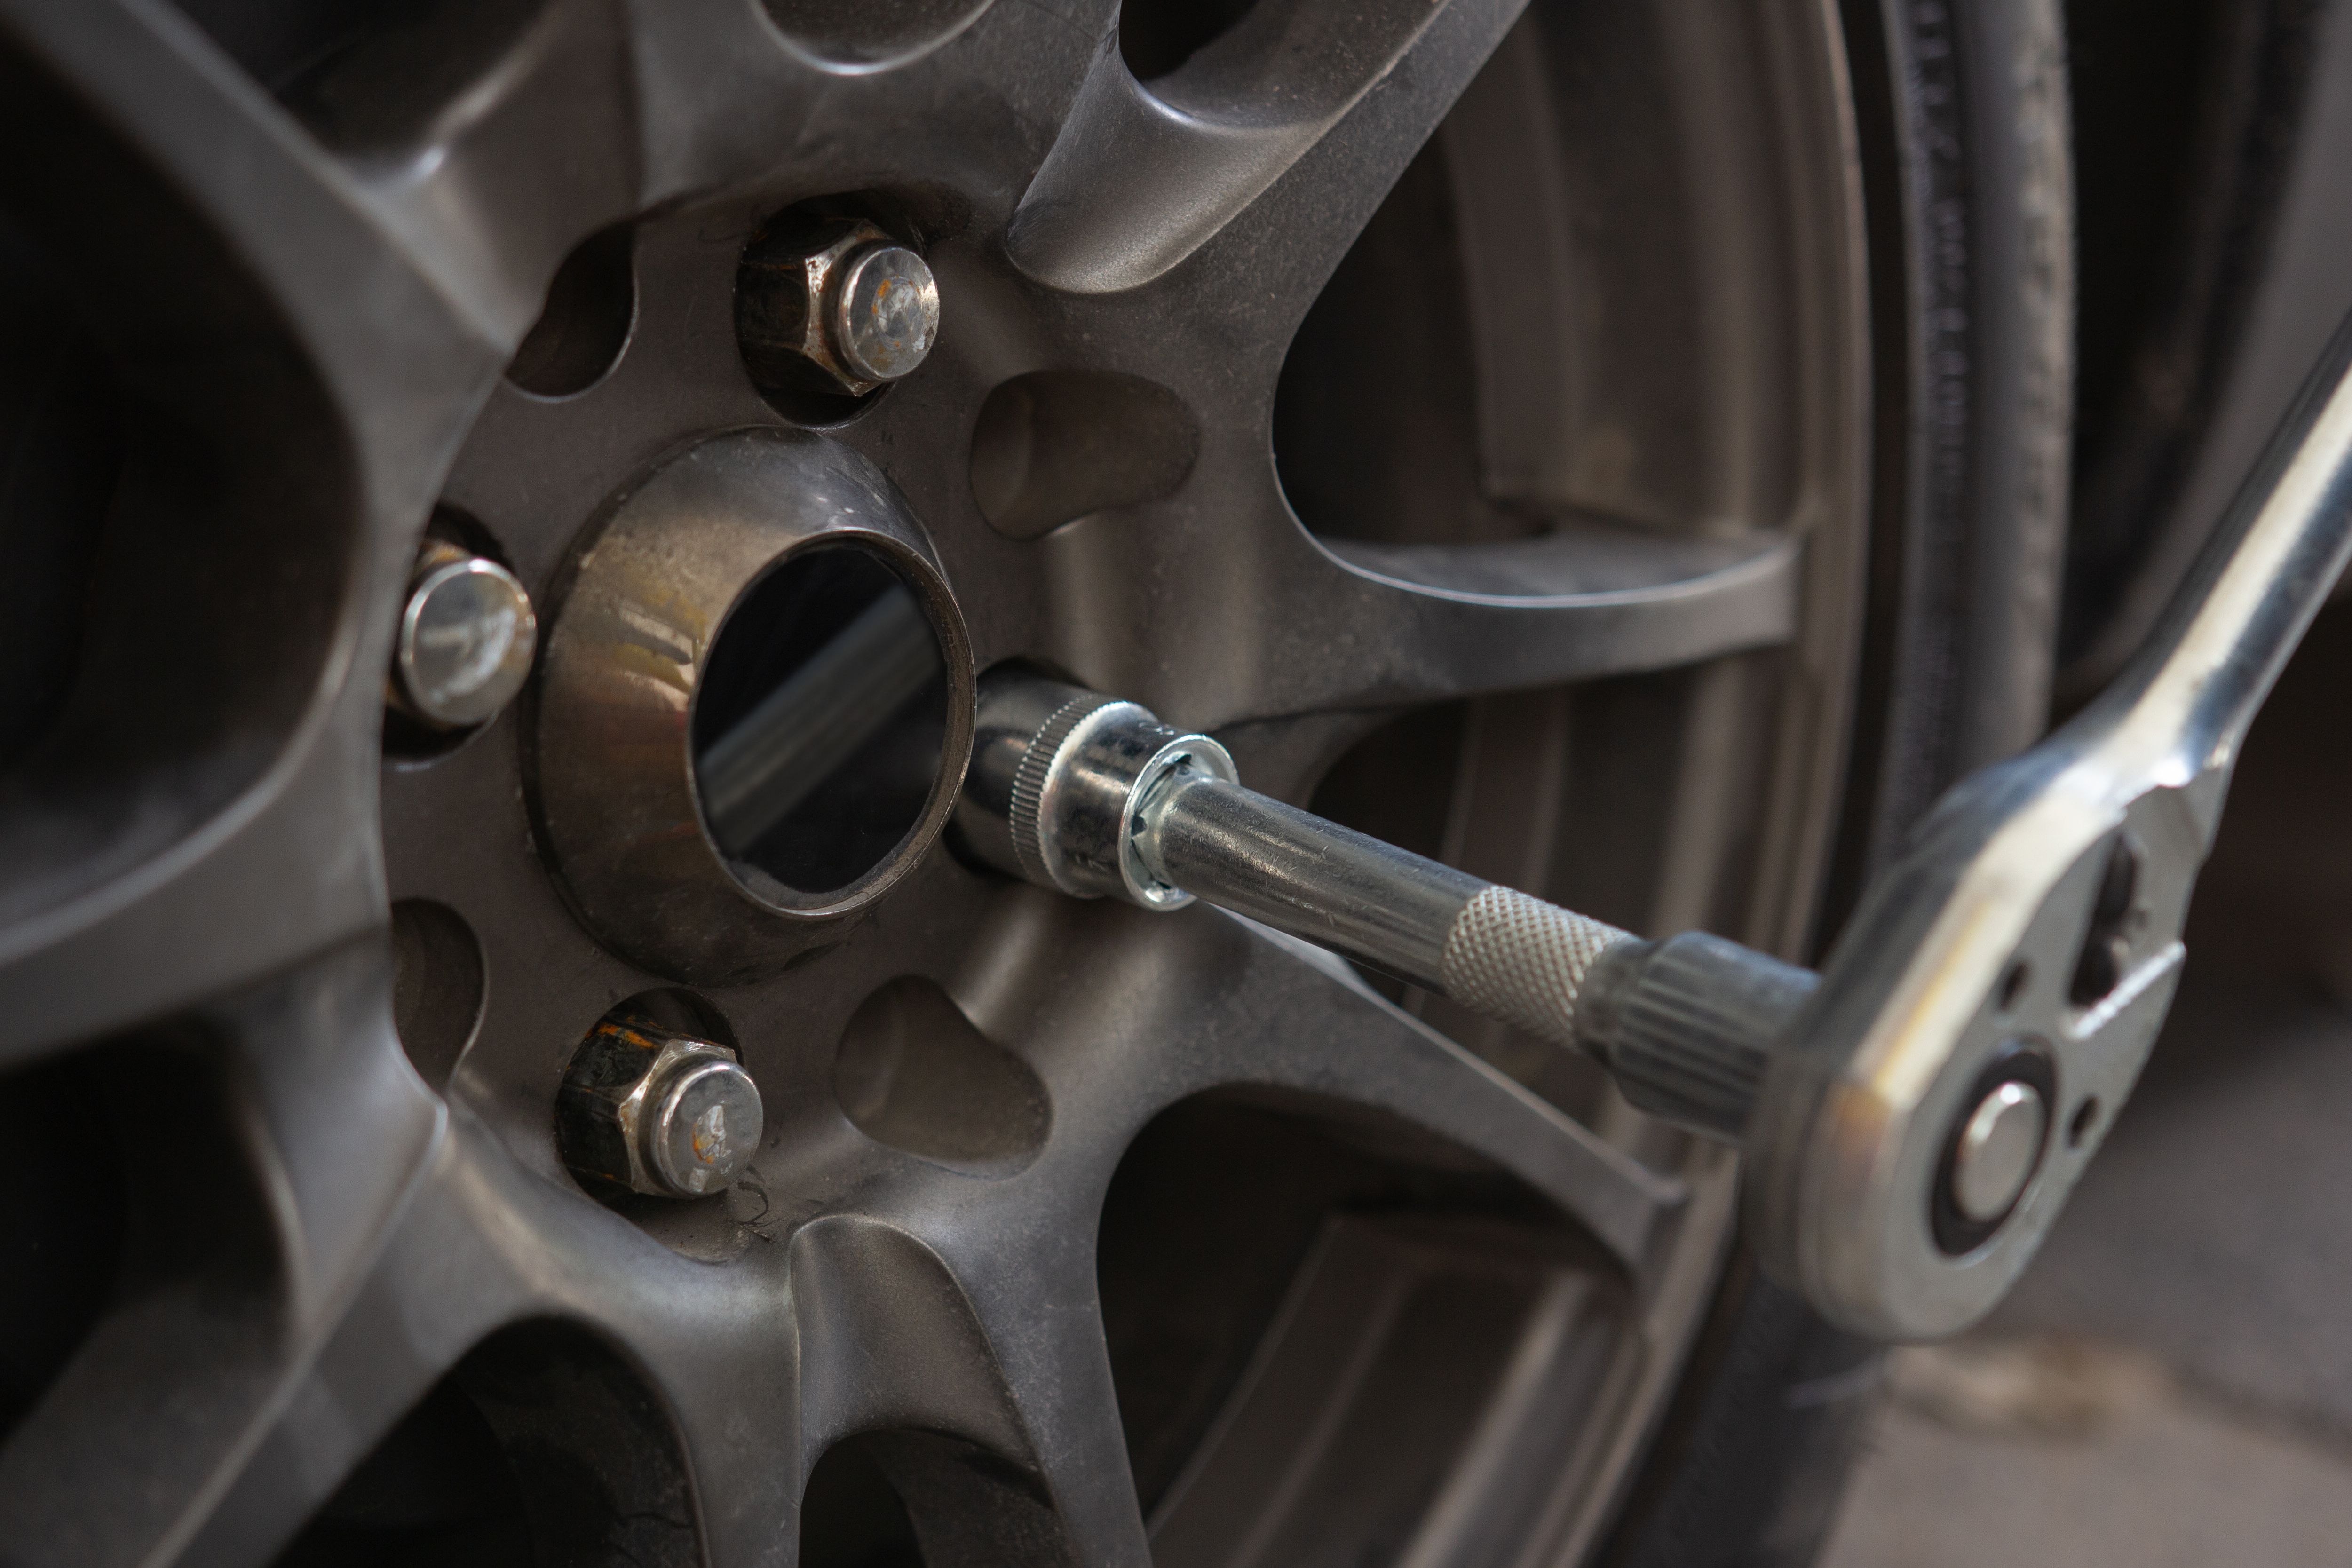
Step 4: Loosen the Lug Nuts
Using the lug wrench, loosen the lug nuts by turning them counterclockwise. Do not remove them completely at this stage; just break their resistance. It's easier to loosen them while the tire is still on the ground.
Step 5: Jack Up the Vehicle
Position the car jack under the vehicle at the correct lift points, which are usually located beneath the vehicle frame. Consult your owner's manual for the exact location. Carefully raise the vehicle until the flat tire is about six inches off the ground.
Step 6: Remove the Flat Tire
Now that the car is elevated, completely remove the loosened lug nuts and take off the flat tire. Place the tire under the car as a precaution in case the jack fails.
Step 7: Mount the Spare Tire
Line up the spare tire with the lug bolts and push it onto the hub. Hand-tighten the lug nuts onto the bolts as much as possible.
Step 8: Lower the Vehicle and Tighten Lug Nuts
Carefully lower the vehicle until the spare tire just touches the ground. Use the lug wrench to fully tighten the lug nuts in a crisscross pattern, ensuring they are secure.
After tightening, lower the vehicle completely and remove the jack. Replace the hubcap or wheel cover if applicable.
Step 9: Check the Spare Tire Pressure
Once the tire is securely in place, check the air pressure of the spare tire. Refer to your vehicle manual for the recommended pressure levels. If necessary, drive to the nearest gas station to adjust the pressure.

By following these steps, you can change a flat tire safely and efficiently. Remember, practice makes perfect, so familiarizing yourself with these steps before you encounter a flat tire can save you time and stress on the road.